


Ever tasted a truly spectacular onion ring, fresh from a deep fryer? I first made these golden beauties after a sunny weekend barbecue—and your kitchen can feel that same joy. This Onion Rings Recipe starts with sweet white onions, soaked to mellow their bite, then dipped in a flavorful batter and fried until perfectly crispy.
In this post, I’ll walk you through every step: choosing the right onions, prepping your batter, deep-frying safety, delicious variations, and serving suggestions. Whether you’re making them as a side dish for burgers, a crispy appetizer for a party, or a comfort food snack, you’ll feel confident and excited. Let’s dig in and turn everyday onions into crispy delights!
Why You’ll Love This Recipe
- Extra Crispy Texture – Thanks to the double-batter technique.
- Flavor-Packed – Lightly seasoned batter with a hint of garlic and paprika.
- Kid & Crowd Friendly – A family-favorite side or party snack.
- Budget-Friendly – Just onions, pantry staples, and oil.
- Customize with Ease – Swap seasonings or try baked versions.
Ingredients You’ll Need
Main Ingredients:
- 2 large white onions (or sweet yellow onions for extra sweetness)
- 2 cups all-purpose flour
- 1 tsp baking powder
- 1 tsp salt, plus more for finishing
- 1 tsp paprika (optional, for color and smokiness)
- ½ tsp garlic powder (optional)
- 2 eggs, beaten
- 1 cup milk (dairy or non-dairy like almond milk)
- Oil for frying (canola or vegetable oil—see tips)
Ingredient Substitutions
- Flour: For a gluten-free version, use 1:1 GF flour blend.
- Milk: Try sparkling water for a lighter, beer-batter-style coating.
- Seasonings: Swap paprika for chili powder or cayenne for extra kick.
- Onions: Use thick slices of sweet onions like Vidalia for a milder, moister result.
How to Make Onion Rings Recipe
- Slice & Soak (10 min):
Peel onions and cut into ½” thick rings. Separate carefully. Soak in cold water for 10 minutes to mellow the bite, then pat dry on paper towels. - Prep the Batter (5 min):
In a shallow bowl, whisk flour, baking powder, salt, paprika, and garlic powder. In another bowl, beat eggs with milk. - Batter & Fry – Round One (10 min prep + 20 min fry):
Heat 2–3″ oil in a deep skillet or fryer to 350°F (175°C).
Dip each dry ring into flour mixture, then the egg-milk, then back into flour—this double coat ensures extra crispiness. - Fry the Rings:
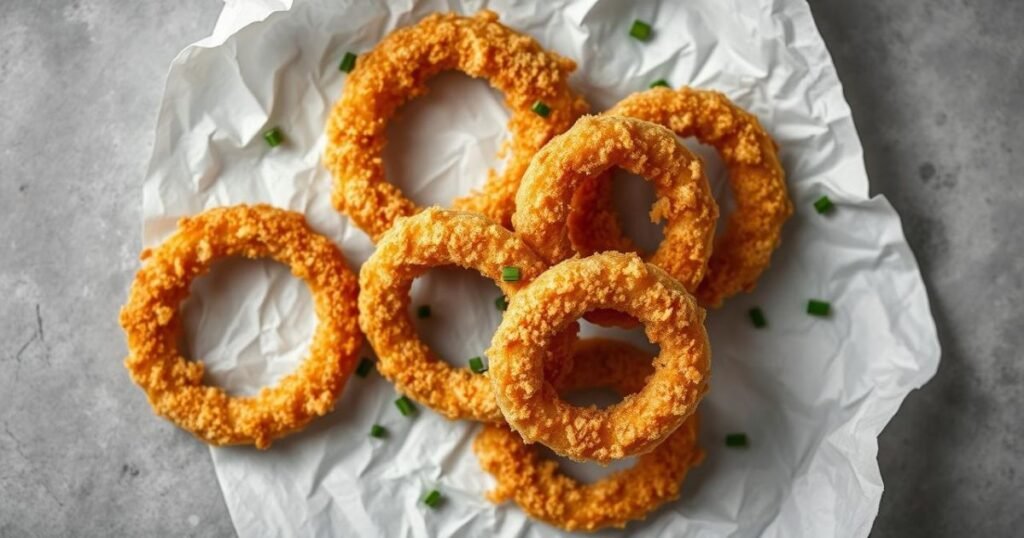
Carefully place rings in hot oil, frying 3–4 at a time for even cooking. Fry 2–3 minutes per batch, until golden brown, flipping once. Use a slotted spoon to remove and drain on paper towels. - Serve Hot:
Sprinkle lightly with salt while still warm. Serve straight from the fryer for ultimate crunch!
Equipment Needed: Knife, cutting board, two bowls, thermometer, deep pan or fryer, slotted spoon, paper towels.
Expert Tips for Success
- Oil Temperature Is Key – Keep it at 350°F: too cool = soggy, too hot = burnt.
- Don’t Crowd the Pan – Fry in small batches to maintain oil temperature.
- Pat Rings Dry – Dry rings = batter sticks better.
- Double-Coat Strategy – Flour, egg, flour = ultimate crunch.
- Drain Properly – Use a cooling rack over a baking sheet for crispier results than paper towels.
- Keep Warm in Oven – 200°F oven keeps cooked batches crisp until serving.
Variations & Add-Ons
- Beer Batter: Substitute cold beer for milk for pub-style flavor.
- Spicy Kick: Add ¼ tsp cayenne or chipotle powder to the flour mix.
- Parmesan Twist: Mix ¼ cup finely grated Parmesan into flour.
- Baked Onion Rings: Arrange rings on foil-lined sheet; spray with oil and bake at 425°F for 15–20 minutes, flipping halfway through.
Serving Suggestions
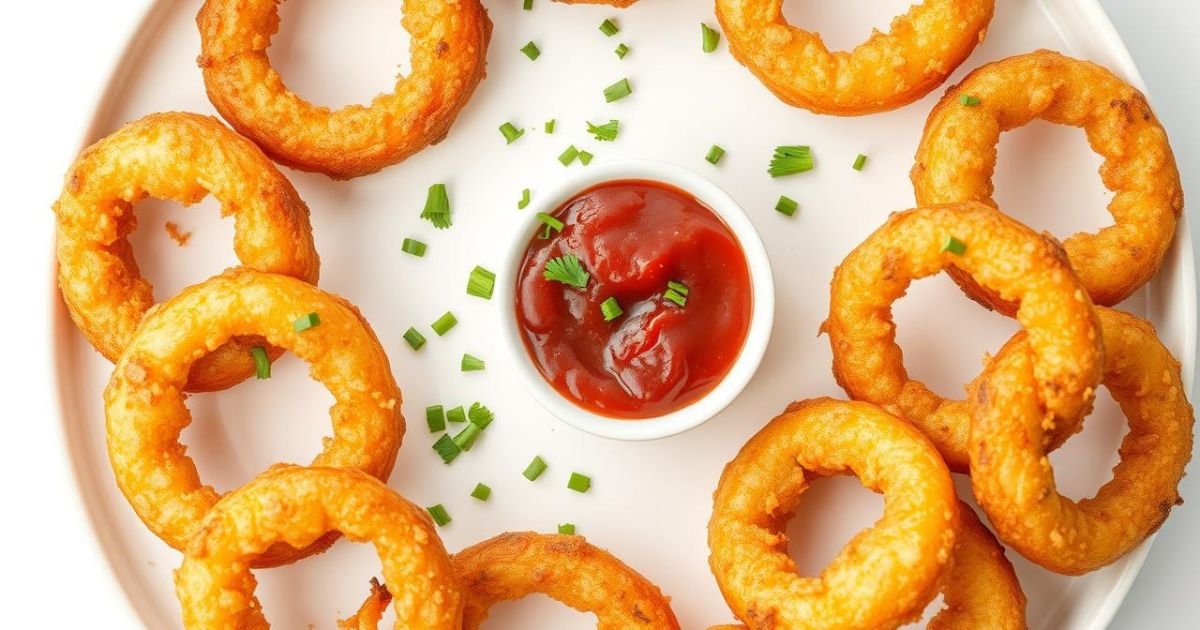
- Classic Dippers: Ketchup, ranch dressing, spicy mayo
- Burger Side: Place alongside juicy burgers for added crunch
- Game Day Appetizer: Add blue cheese dip and tender chicken wings
- Party Platter: Line on parchment with mini sliders and spicy dips
- Presentation Tips: Serve hot in a wire basket or cast-iron skillet for a rustic feel
Storage & Reheating
- Refrigerator: Store cooled rings in airtight container up to 2 days.
- Reheat: Bake at 350°F for 8–10 minutes or use an air fryer at 350°F for 3–4 minutes to restore crispiness.
- Avoid soggy microwaves – they soften the coating.
Nutrition Information (per 4–5 rings)
- Calories: 300
- Protein: 5g
- Carbohydrates: 35g
- Fat: 15g
- Sodium: ~450mg
- Fiber: 1g (source: flour & onion)
Prep, Cook, and Total Time
- Prep Time: 15 minutes (plus 10-minute soak)
- Cook Time: 20–25 minutes (in batches)
- Total Time: ~50 minutes
Frequently Asked Questions
Can I make onion rings ahead of time?
You can prep and coat the rings ahead up to 2 hours. Fry just before serving for best crisp.
What’s the best onion type?
White and yellow onions work best. Sweet onions like Vidalia add mild, tender sweetness.
How do I keep onion rings from becoming oily?
Ensure oil hits 350°F before frying, fry in batches, and drain on a rack to stay crisp.
Can I bake onion rings instead of frying?
Yes. Bake at 425°F for 15–20 min, flipping halfway. They’re still tasty, if a bit less crisp.
Can I use a deep fryer instead of skillet?
Absolutely—set fryer to 350°F and fry according to directions for consistent results.
Conclusion
This Onion Rings Recipe delivers crispy, golden rings bursting with flavor and nostalgia. Perfect for burger nights, game-day spreads, or cozy treat time, you’ll impress every time. The double-batter method and expert tips yield reliably crunchy results that stand out.
I can’t wait for you to try this recipe—cook a batch, share photos, and let me know what variations you try. Your kitchen is about to smell like perfection—happy frying!
Onion Rings Recipe
Ingredients
Method
- Slice & Soak (10 min):
- Peel onions and cut into ½” thick rings. Separate carefully. Soak in cold water for 10 minutes to mellow the bite, then pat dry on paper towels.
- Prep the Batter (5 min):
- In a shallow bowl, whisk flour, baking powder, salt, paprika, and garlic powder. In another bowl, beat eggs with milk.
- Batter & Fry – Round One (10 min prep + 20 min fry):
- Heat 2–3″ oil in a deep skillet or fryer to 350°F (175°C).
- Dip each dry ring into flour mixture, then the egg-milk, then back into flour—this double coat ensures extra crispiness.
- Fry the Rings:
- Carefully place rings in hot oil, frying 3–4 at a time for even cooking. Fry 2–3 minutes per batch, until golden brown, flipping once. Use a slotted spoon to remove and drain on paper towels.
- Serve Hot:
- Sprinkle lightly with salt while still warm. Serve straight from the fryer for ultimate crunch!
Notes
- Soaking the onions helps mellow their sharp bite, making the final result sweeter and more enjoyable.
- Double-dipping (flour → egg mixture → flour) gives the onion rings their signature crispy coating.
- Oil temperature is crucial—use a thermometer and keep it steady at 350°F for best texture.
- Don’t overcrowd the pan while frying. Fry in small batches to avoid dropping the oil temperature.
- Keep batches warm in a 200°F oven on a rack-lined baking sheet while you finish frying the rest.
- For extra crunch, use a wire rack instead of paper towels when draining fried rings.


